

Hi fellow readers,
In this blog, I'm going to present a brief explanation on how I make a Personal Portfolio Website using Figma.
Requirements to get started on designing a website:
- A functioning desktop/laptop/android/ios device.
- A browser or downloaded Figma application (Can be downloaded from here).
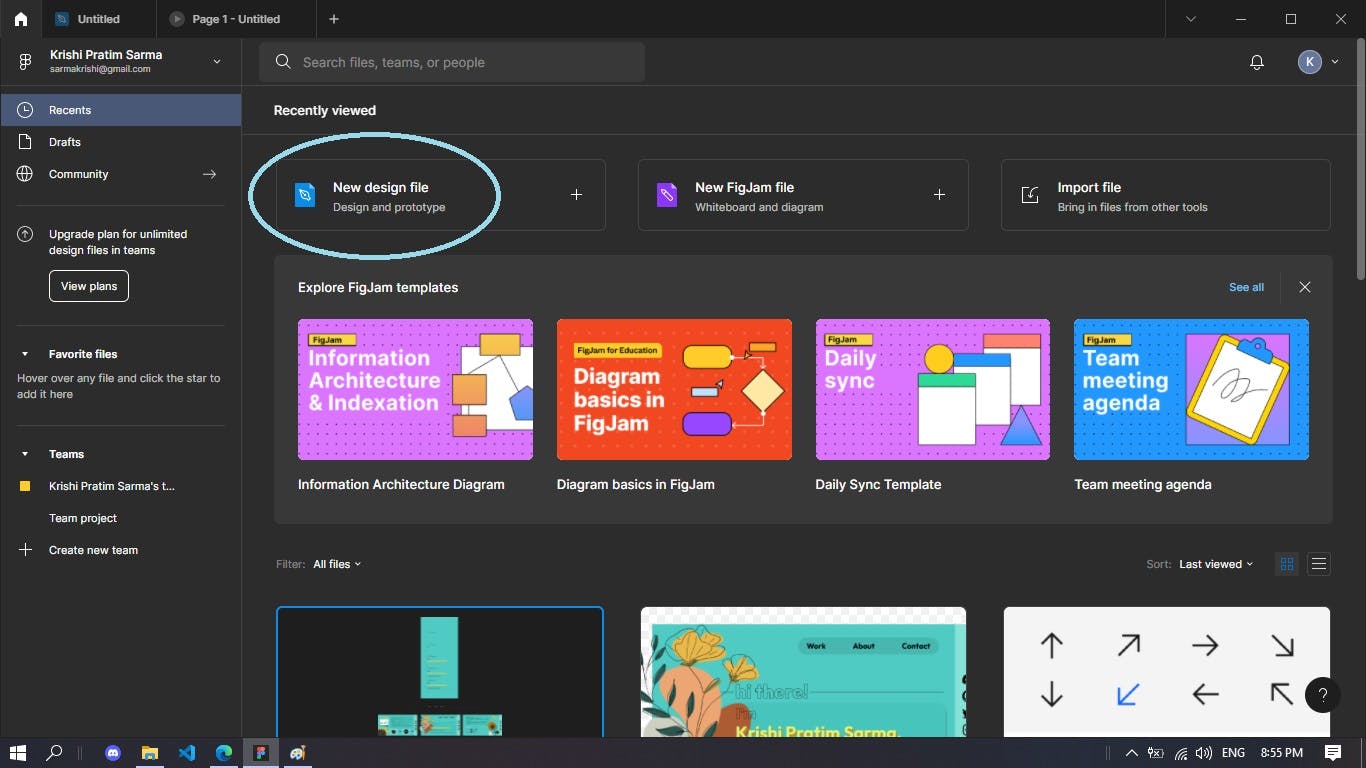
Step 1:
Open Figma and click on Create New Design File.
Step 2:
Before going any further, we need to get introduced to the different tools and features so that we can start designing:
- Initial design window
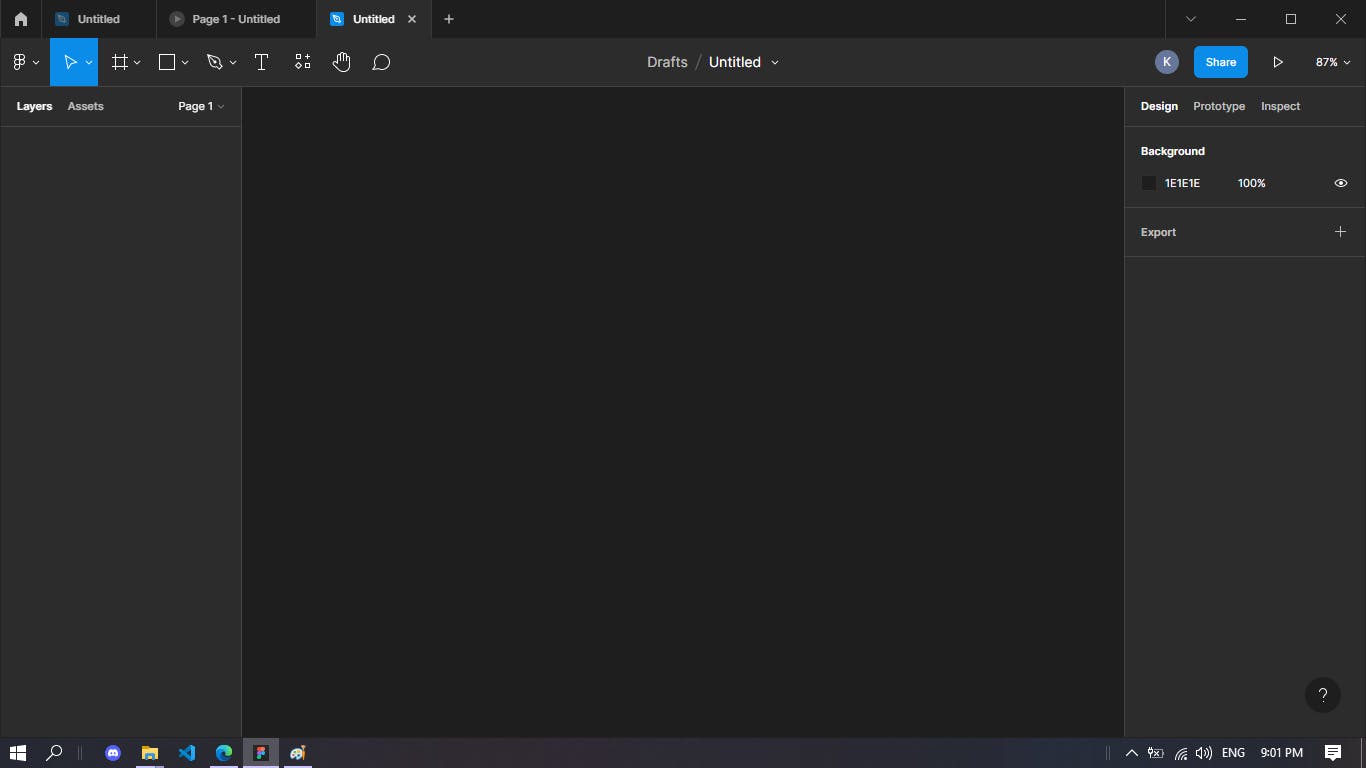
- This toolbar is used to navigate, add new frames, shapes, text and many other decorative items.

- This section is used to store and show different layers of the window such as frames, shapes, text etc.
- This section is used to edit the frames, shapes and texts, from positioning to adding colours with effects. Beside the Design, the Prototype button opens the sections where we can do wireframing, animations and interactions.
Step 3:
Now we can start designing our website:
- Firstly we shall add a frame of our desired size(in pixels), although Desktop size is preferred (1440x1024).
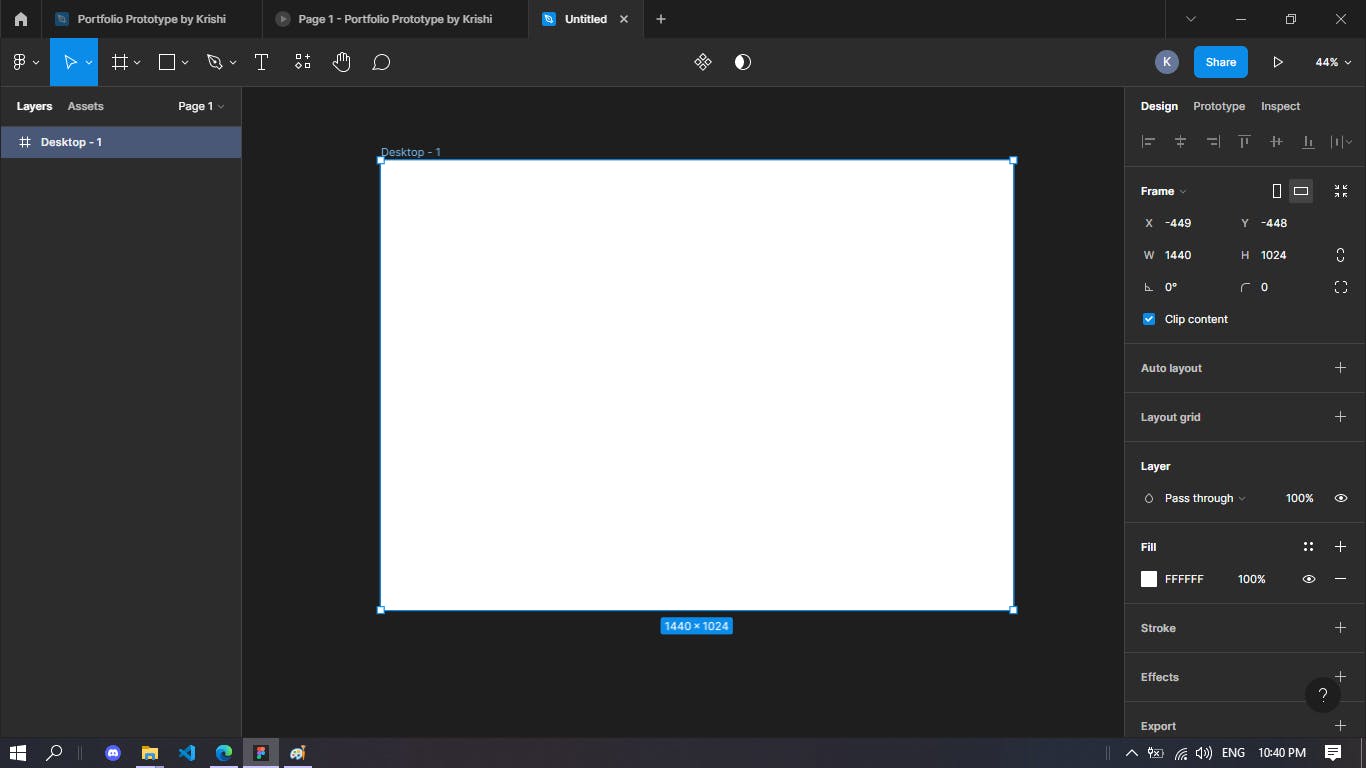
As we can see, in the left side section, there appears to be a frame and in the right side section more editing features have appeared.
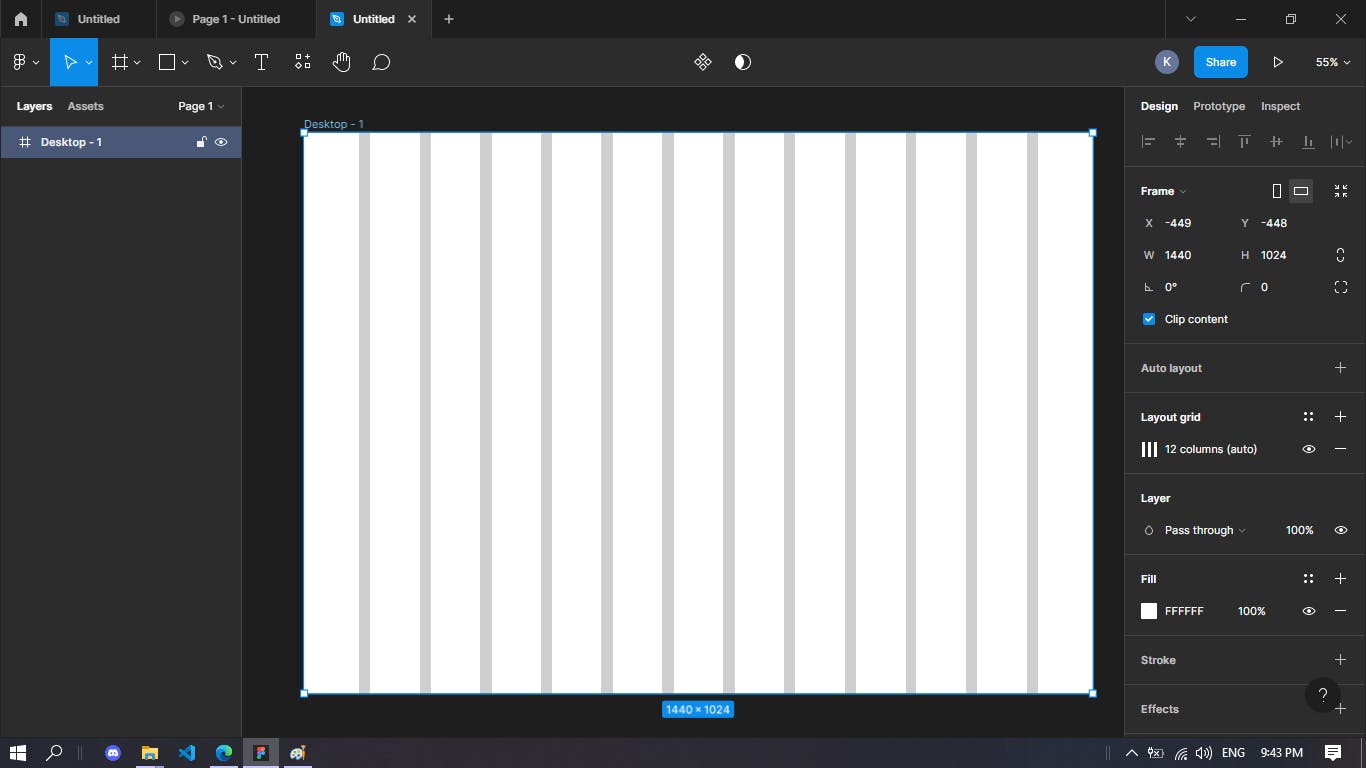
- We'll add columns from the Layout Grid in the Design section on right side for the ease our elements placement.
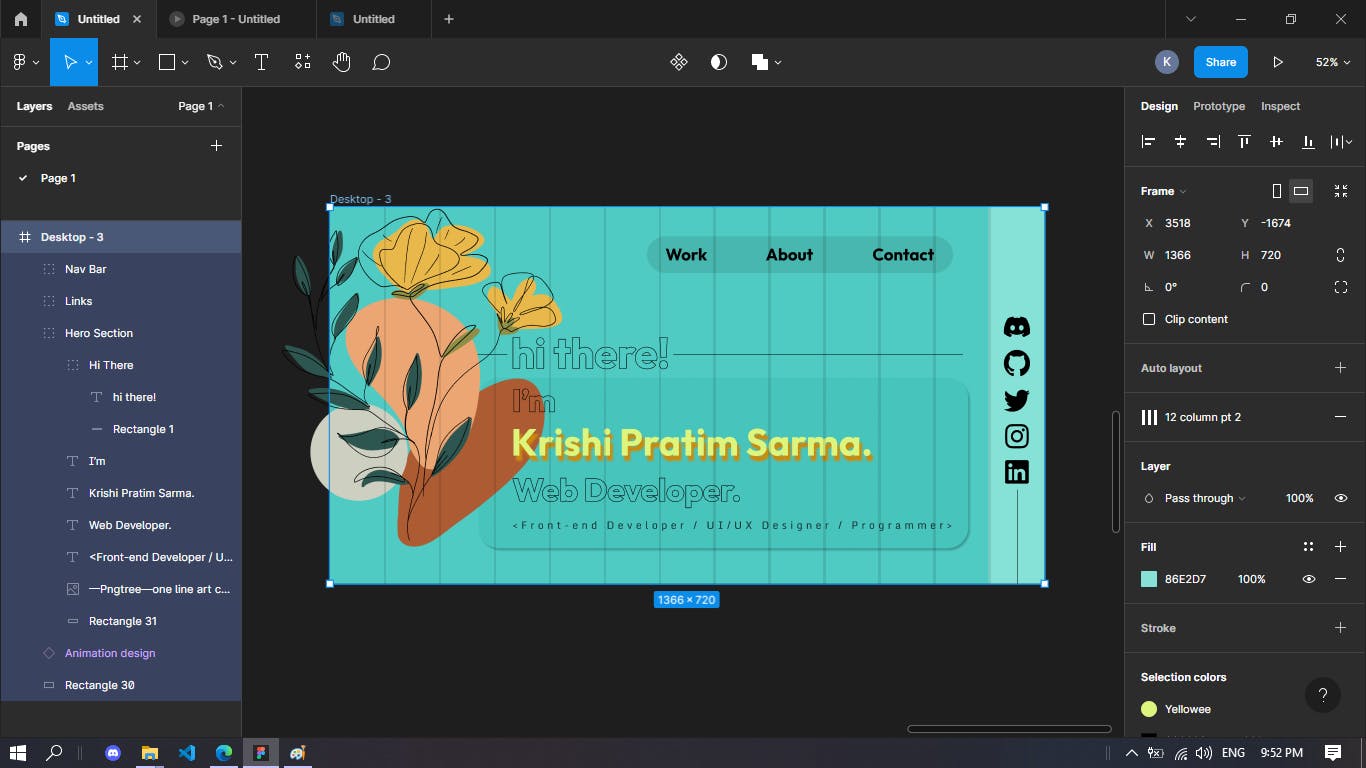
Step 4:
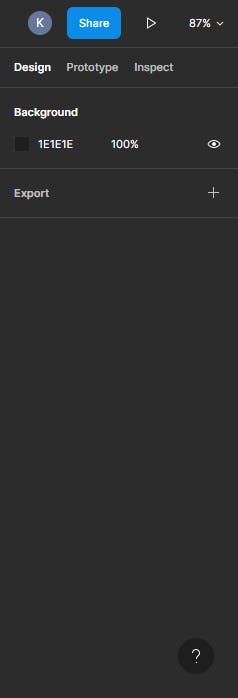
- The frame background is coloured and more shapes and texts are added as per likings in the frame for the Home page of the website.
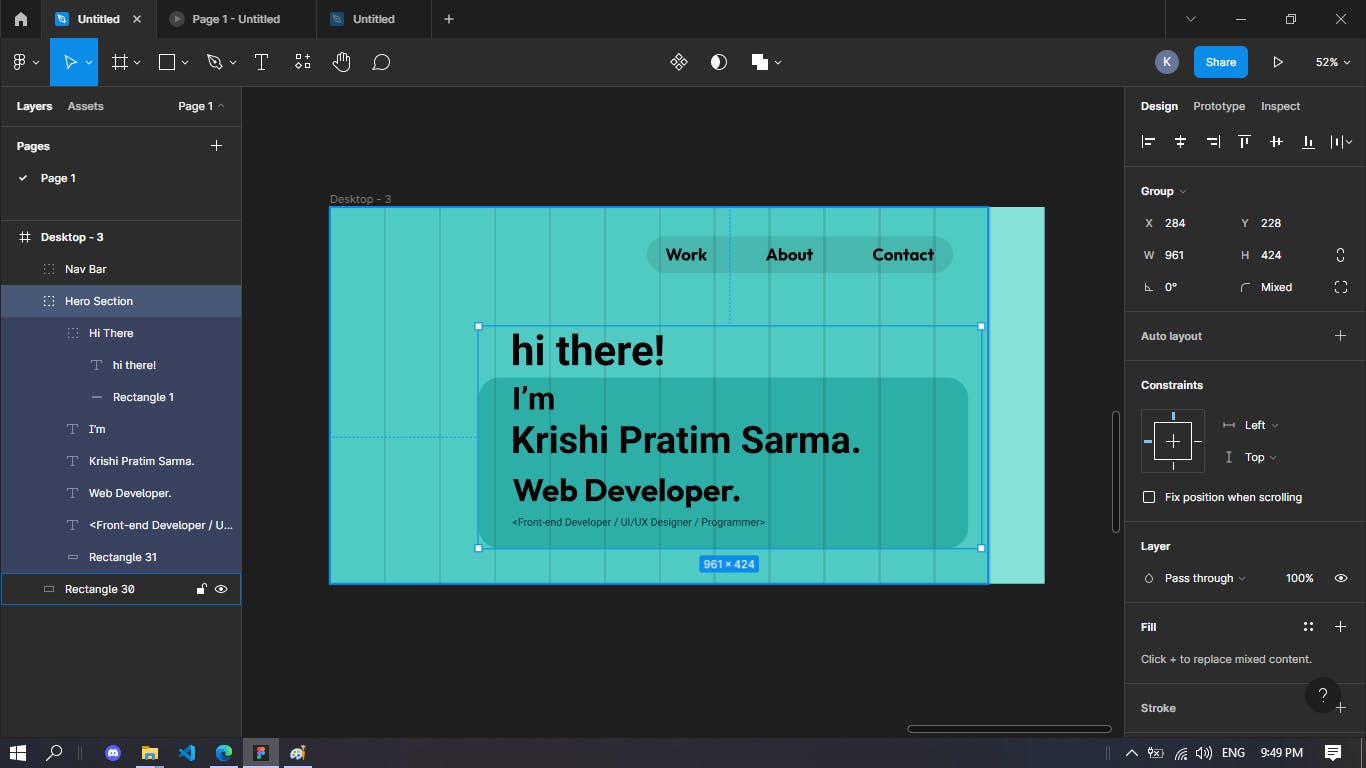
- More decorations are done in the text and shapes, added social media icons(from the figma community) and added a png image to make the interface stand out.
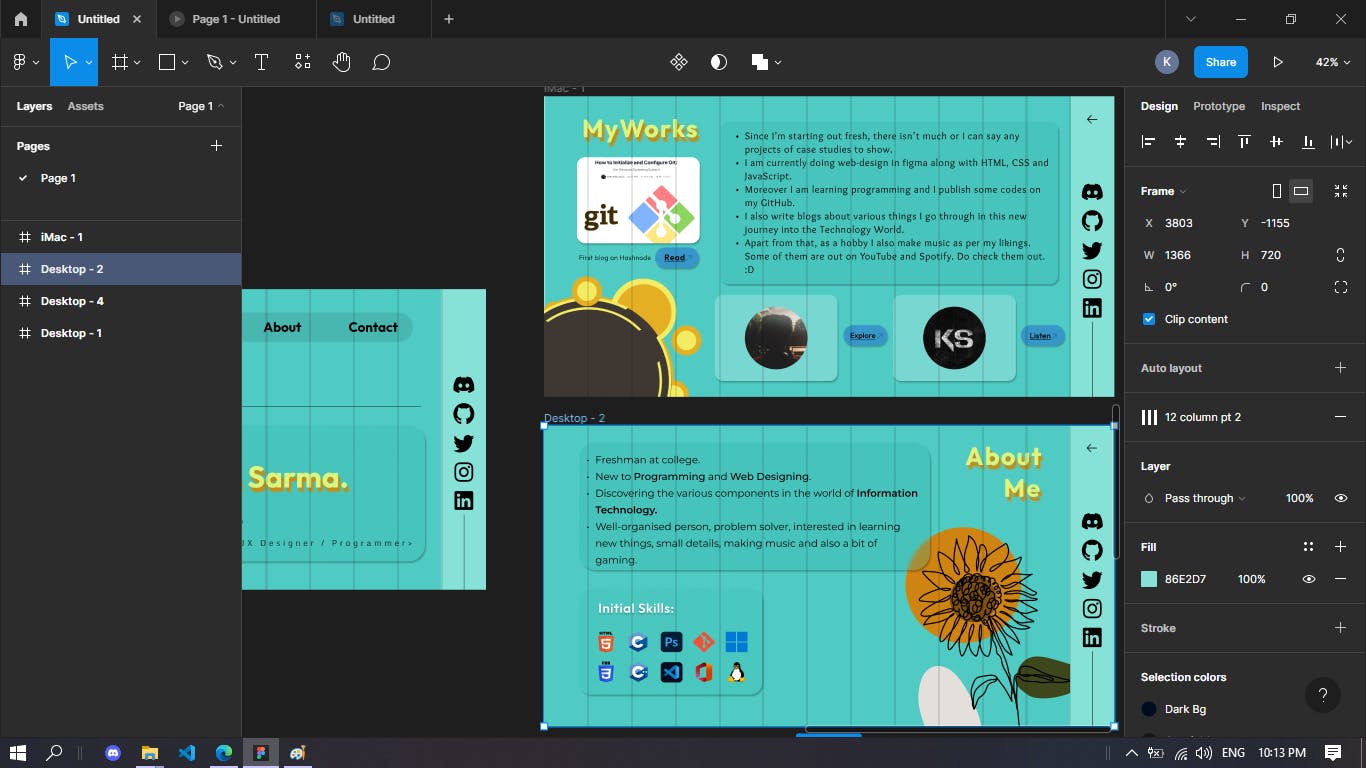
Step 5:
- Just like in Step 4 we are going to repeat the process with two more frames for Works and About window.
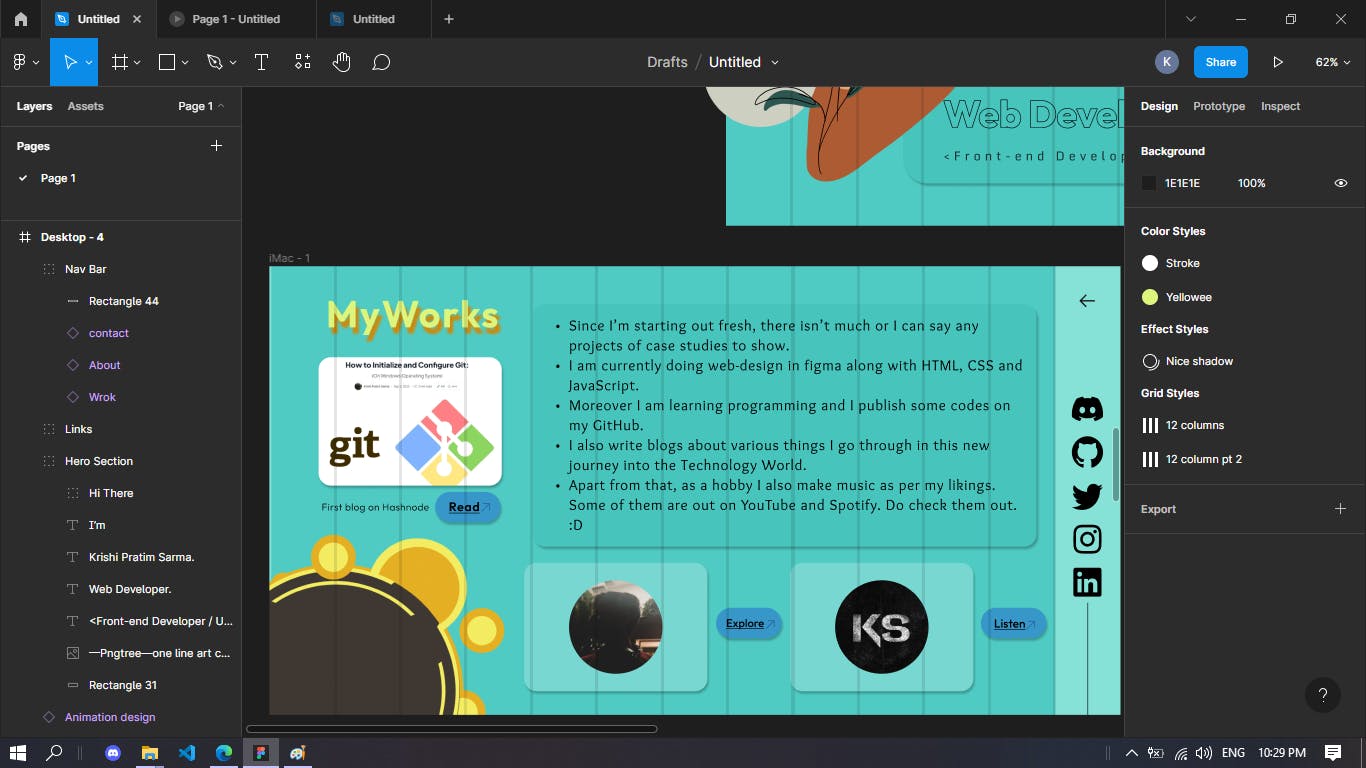
Step 6:
- In the prototype section, wireframing can be done by which we can go through one window to other. In the works page, buttons are created with shapes and text, and they are included with links to redirect viewers to certain webpages.
- Basic wireframing can be done by clicking an element and dragging an arrow from it to a destination to perform a navigation and effects can be included to make the transition smoother.
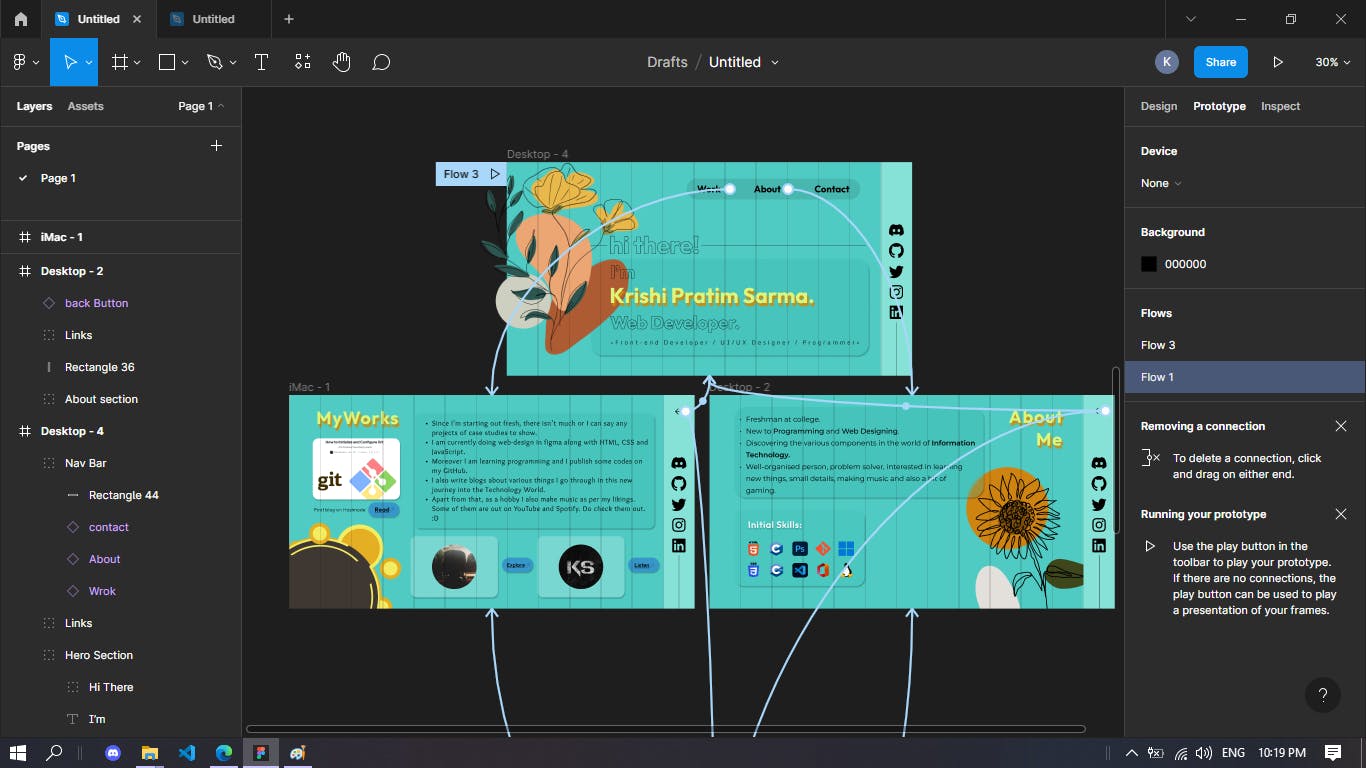
Landing page animation, Button interactions can be added like changing format while hovering etc. Some of them are added in this website prototype, but that is a blog for another day.
And this is how we can design a portfolio website with wireframing in a beginner level.
Hope you found this blog useful. Leave your valuable feedback and Thank You for reading till the end!
Click here to check out the output.